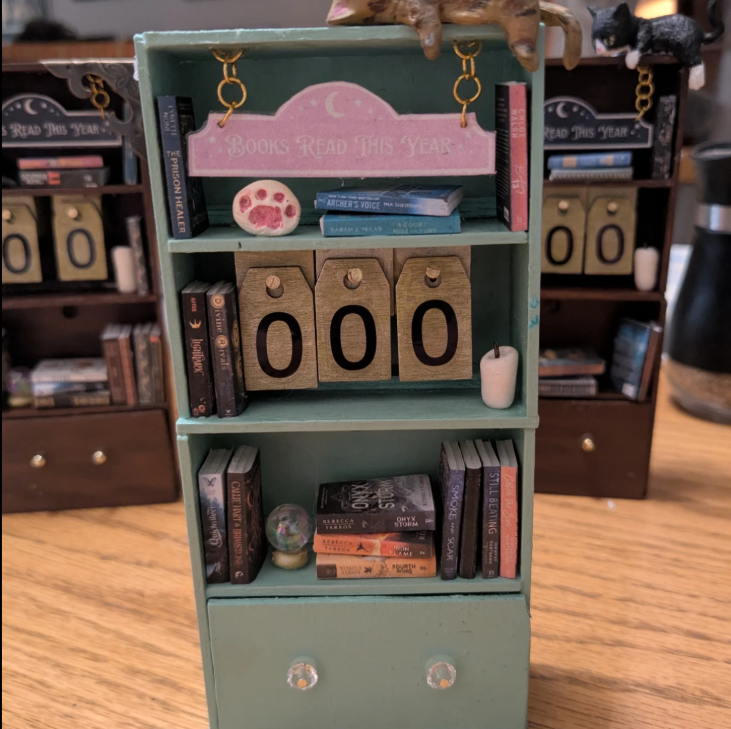
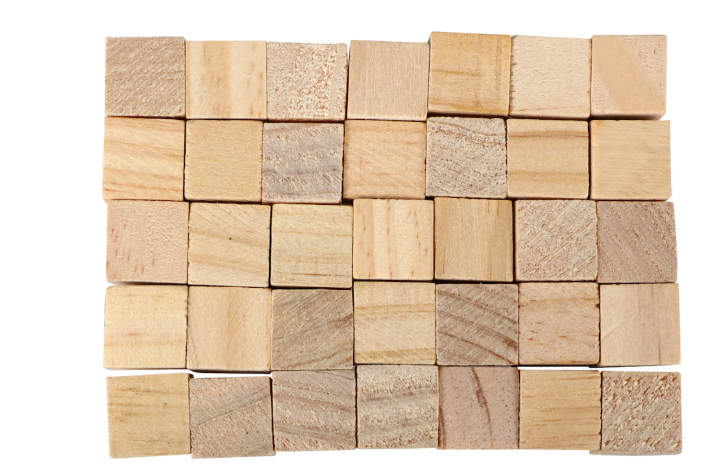
Step one: Build your bookshelf!
I bought craft wood from the dollar store; as you can see, mine wasn’t tall enough to do the whole shelf, so I made two small shelves and glued them together. I put a square piece on the back to help secure it. Make sure you buy wood that’s nice and thin, so you can cut it with scissors! The first package I bought was too thick and I could NOT figure out how to chop it.
I didn’t measure ANY of this, I just eyeballed it, but honestly I like how it’s a little obviously handmade, I think it looks cute. The one part you really should measure is the shelves. Whatever size your books are going to be, you want the shelves to be just a LITTLE bit deeper, otherwise you end up having to make a little bar at the base of every shelf so the books sit nicely like I did… cough cough.
*Note – you could also use a premade shelf. I found one at the dollar store but I didn’t like how skinny it was, I wanted something that was a little wider.
Step two: Make your drawer. This part almost killed me because I kept mis-measuring it, lol. You want the drawer to fit nicely inside, so I made the face of the drawer a little bigger and then made the inside box a little smaller? Also, punch the holes for the drawer handles first, it will be much easier! I used a push pin. I HIGHLY recommend this magic craft glue for this step, I tried tacky glue and it kept falling apart and it was a nightmare, whereas this stuff bonds really fast but then still lets you adjust afterward, which is a lifesaver. https://www.unicorntoys.com/products/diy-miniatures-glue-30ml
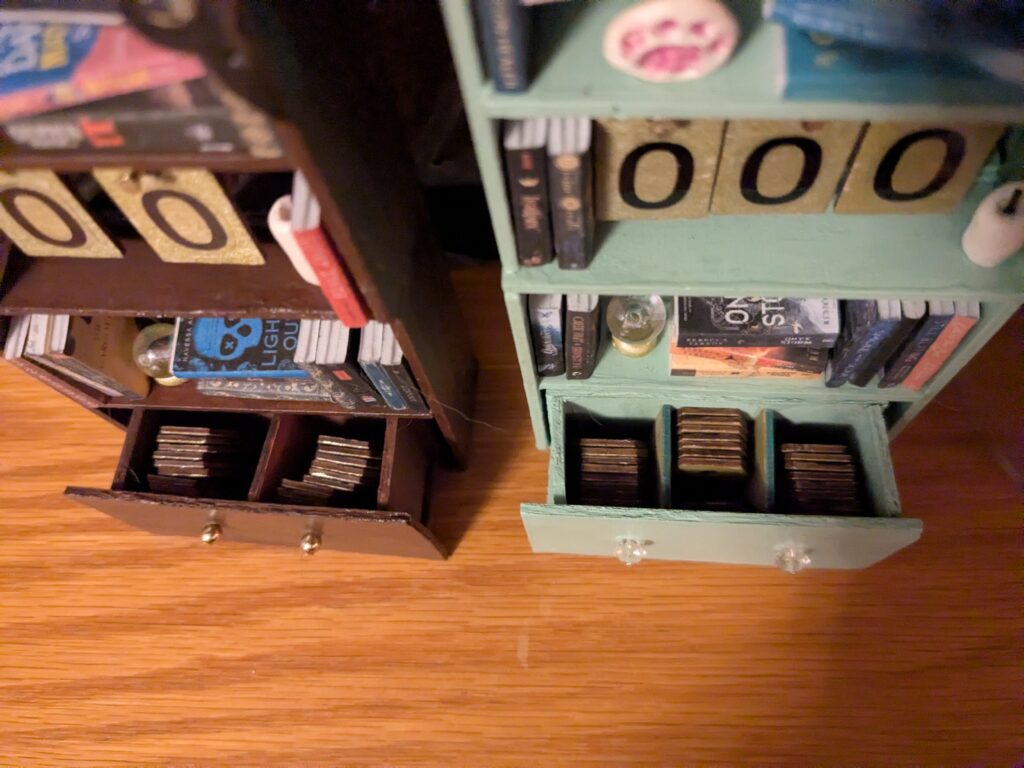
You’ll need two compartments if you want to have 99 or fewer books trackable, and three if you want to track 100+ books.
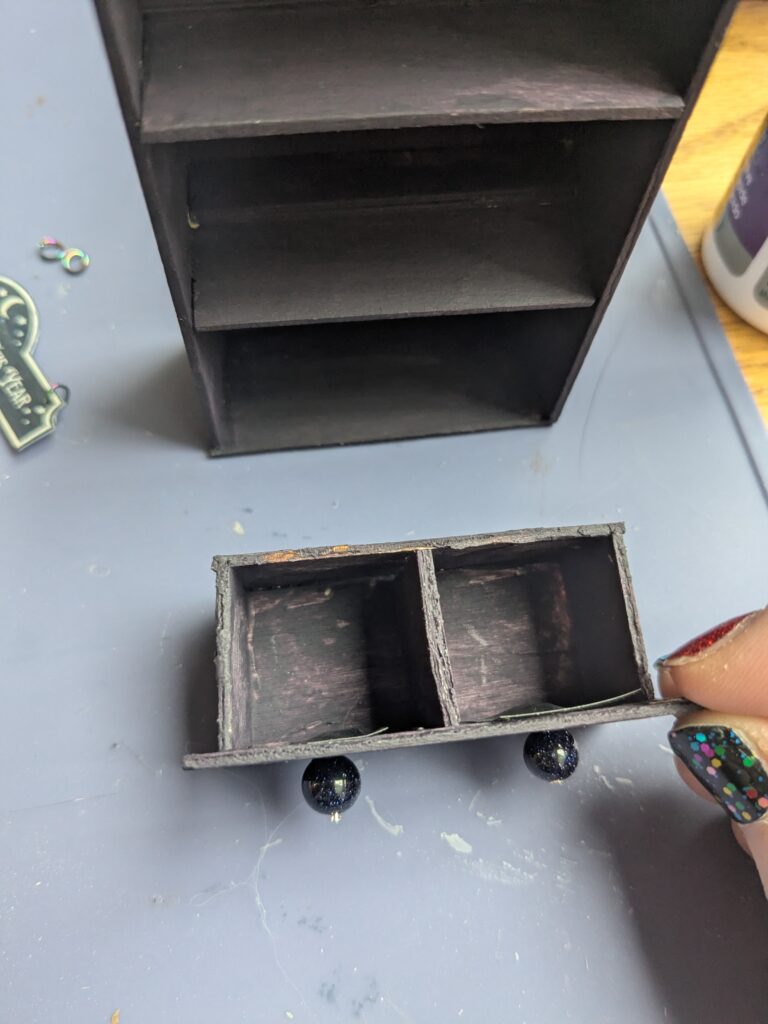
Next, you want to get two beads, and two flat-head jewellery pins. I was lucky I had already had these so I didn’t have to buy a whole package just to do this step. You could just glue the beads on but it wouldn’t be strong enough to pull the drawer open with the handle!
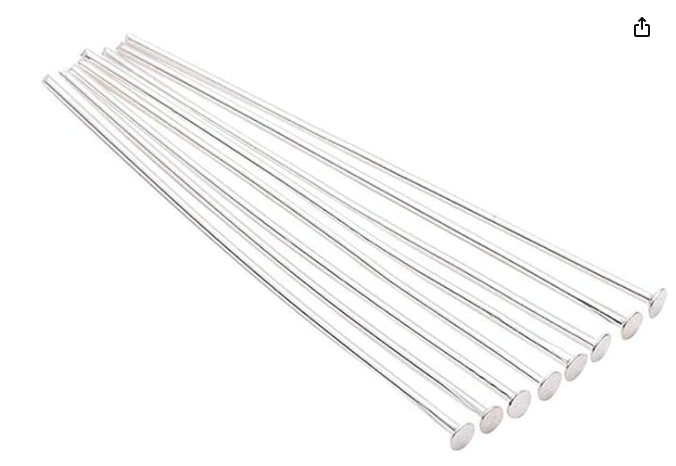
Put the bead onto the pin, cut it down, stick it through the hole you made, fold it down with pliars, glue the pin in place, and then stick some tape over it to hold it in place while the glue dries. You need the tape, trust me! I used black electrical tape.
Step three: Paint! The wood will probably be very light coloured and won’t look like a bookshelf. You can paint it whatever colour you want. I also used matte Modge Podge on top of the paint to stop it from getting scratched up too easily.
Step four: Make your number hangers. I used square “dice” blocks from the dollar store and painted them gold (or silver for the dark blue shelf). Then I used small nails from a dollar store paint hanging kit (everything is from the dollar store, lol) and hammered the nails into the centre. Glued them on and voila, a place to hang numbers!
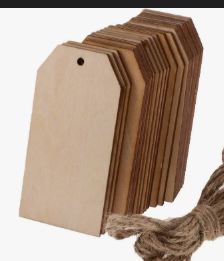
Step five: Make your numbers! I got these cool wooden tags from the dollar store. They had letters on one side, so I painted that over in black. Then I painted the other side gold (or silver) and stuck number stickers onto them! I got a big bag of like 100 for a dollar.
Step six: Make your book covers! If you go on Pinterest and look up “mini book covers” you can find a TON. I had to resize them all to be the right dimensions, though, which was a bit annoying. If I was doing it again, I would probably make the books whatever dimensions they started as, but here’s my template!
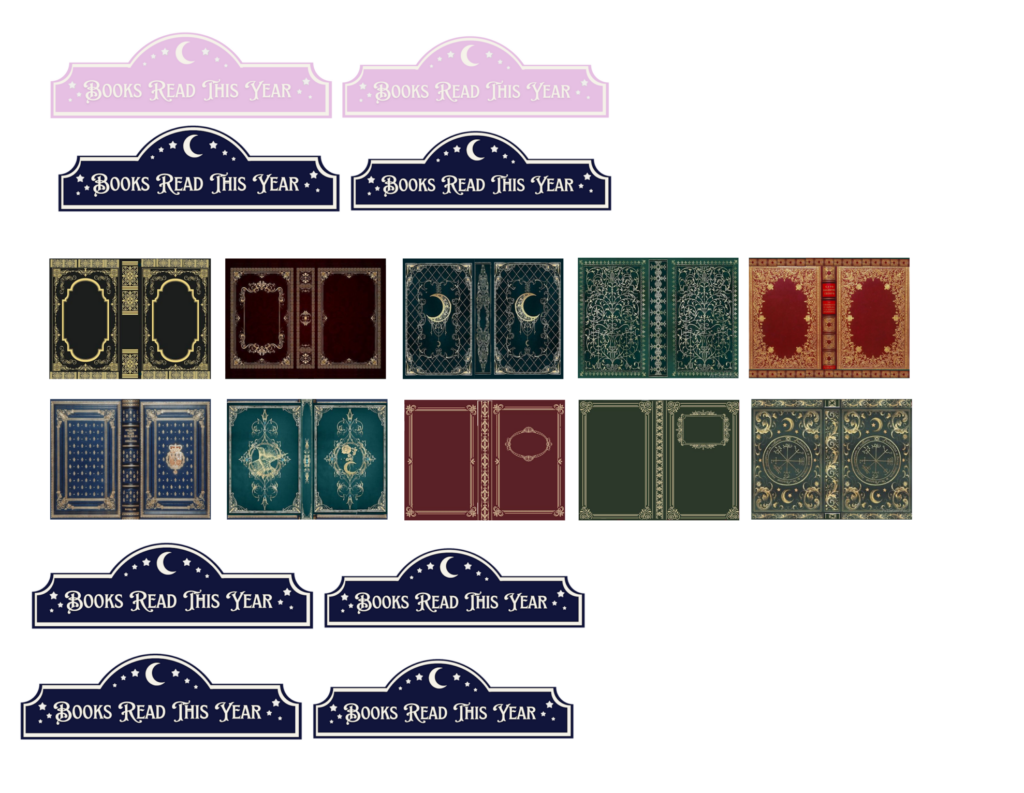
I used a roll of “mounting tape,” which is foam tape that’s sticky on both sides (from, you guessed it, the dollar store) and stuck in 1 to 3 layers depending on how thick the spine of the book was. Having the different thicknesses really looks good! One trick is to lay down all of the layers and THEN cut the extra off. It’ll make it easier for it all to line up.
Step seven: The cute little sign! I cut it out from the template above and glued it onto a piece of plastic (I used a cut-up strawberry container), then used the push pin from earlier to poke holes in it. I used jewellery jump rings to make the little metal chain. I used pliers to bend two jump rings in half and glued them to the top to hold it in place. This was a tricky step! Getting the jump rings in place without pulling them off was hard. Use more glue than you think you’ll need! (The image is designed to be 8.5 x 11 because I can’t figure out how to make my printer print things the size I want them unless I lay them out on a blank page, lol.)
Step eight: Home stretch! The last step is the little accessories. I used baking polymer clay and made candles, a little cat paw symbol, a tea cup, a crow’s skull. Whatever feels like you!
I think that’s it. Comments are open if I left anything out or you have any questions as you go. Happy crafting!!!